Etching and Engraving
- Zhang Kaixiang

- Nov 16, 2018
- 3 min read
Updated: Nov 20, 2018
To continue with Dadaist style practice, we were going to use etching and engraving to rework on the collages that done before.
Artist Research
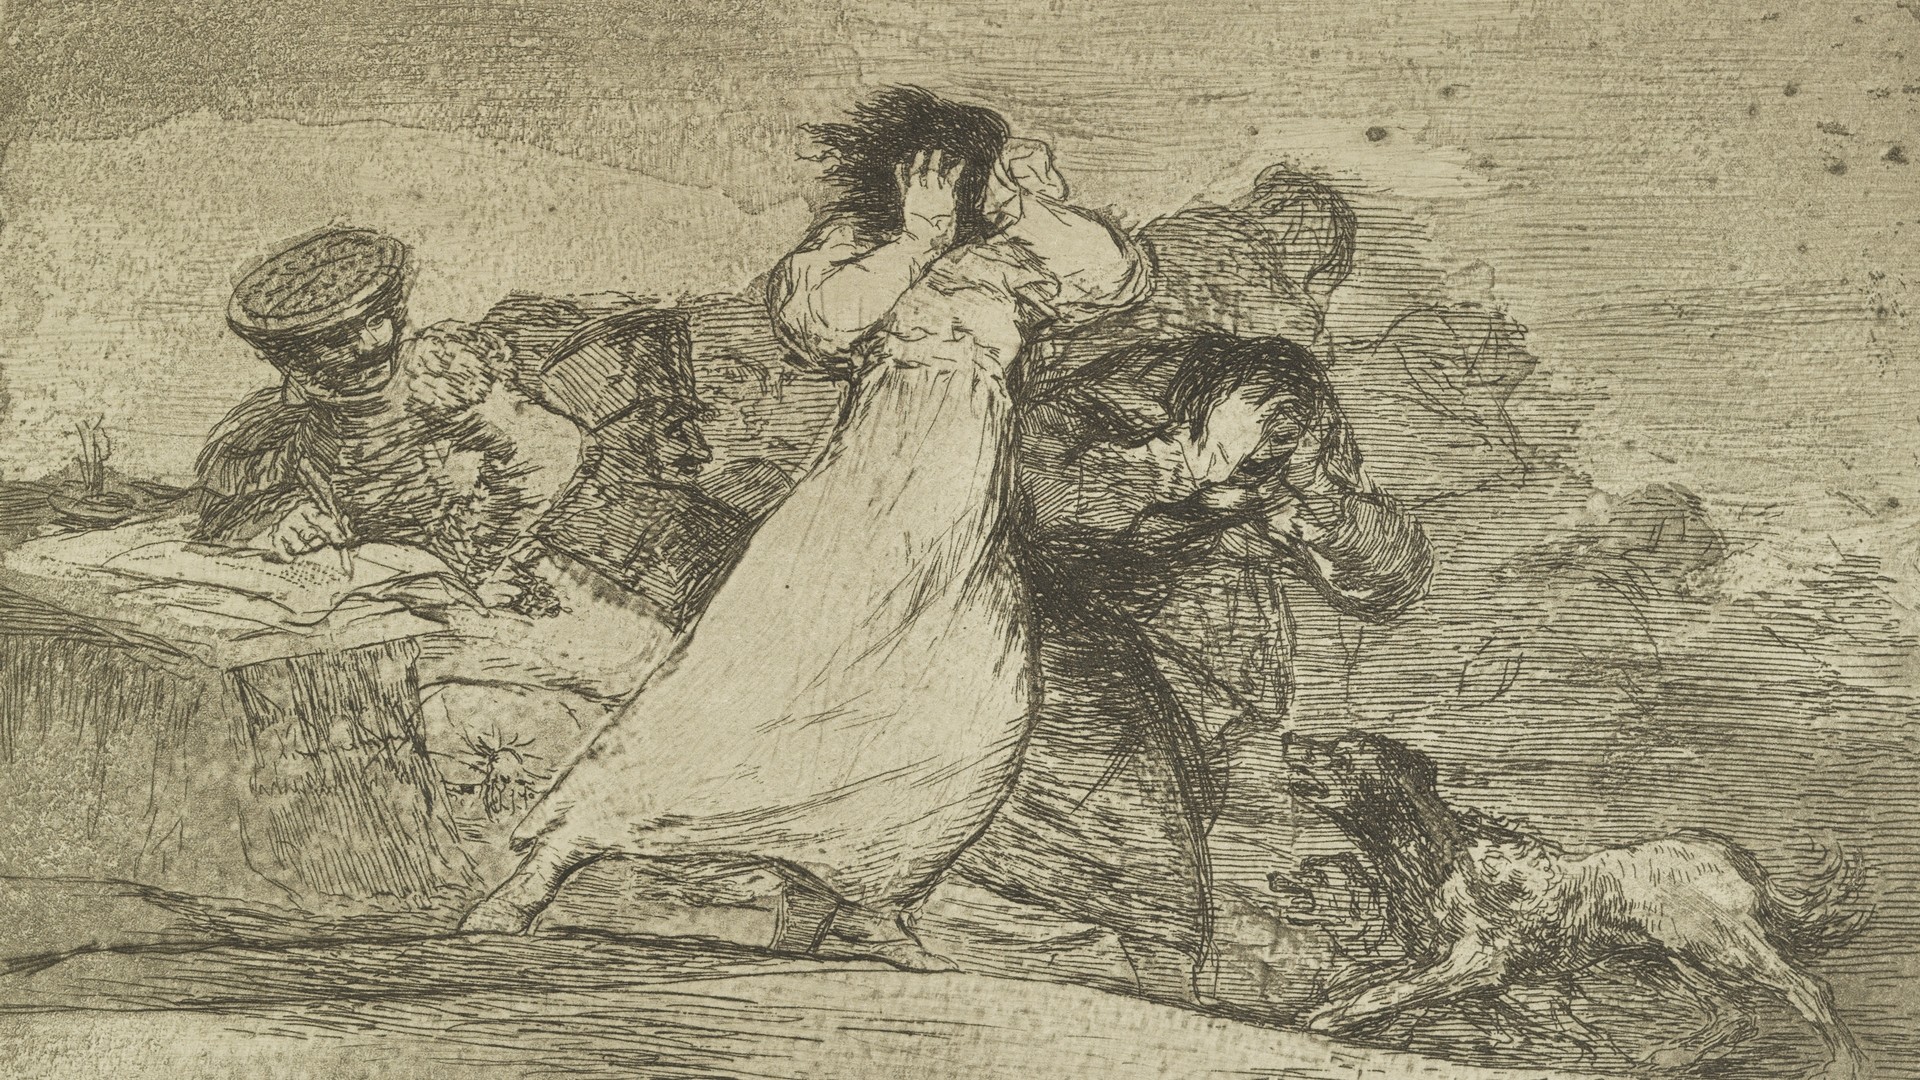
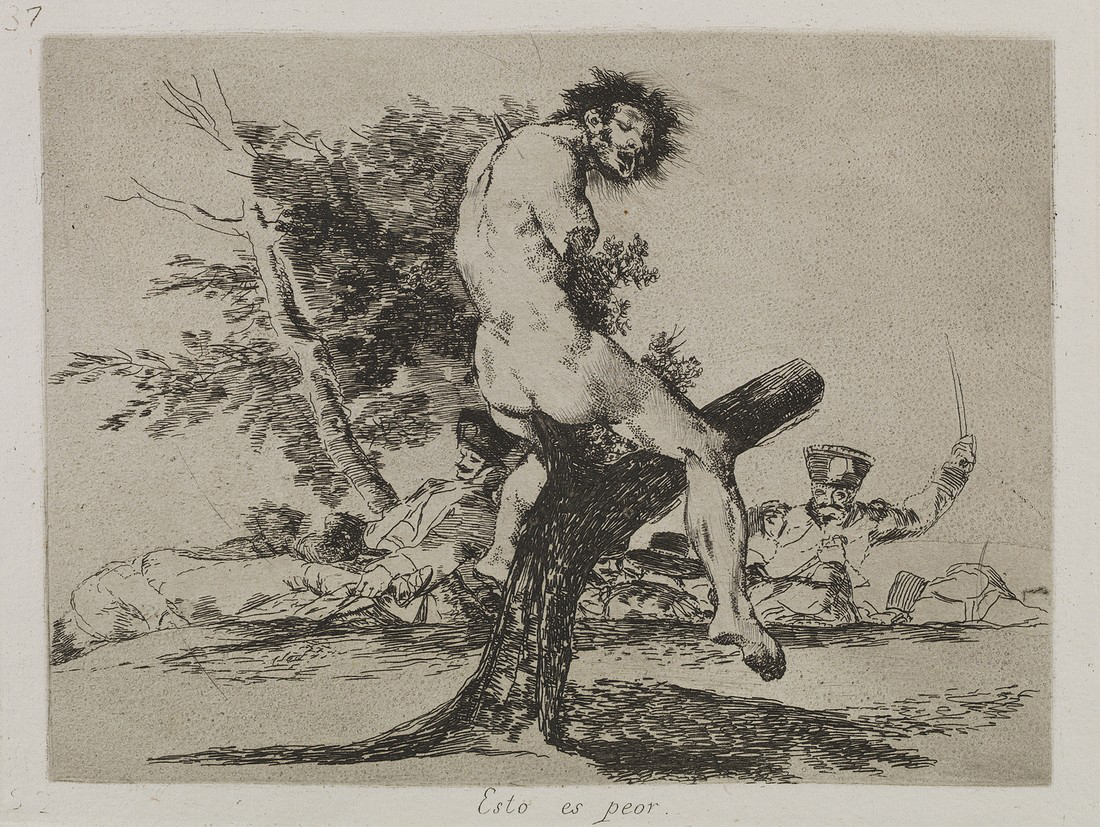
Francisco Goya

"Francisco José de Goya y Lucientes (1746 – 1828) was a Spanish romantic painter and printmaker. He is considered the most important Spanish artist of the late 18th and early 19th centuries and throughout his long career was a commentator and chronicler of his era. Immensely successful in his lifetime, Goya is often referred to as both the last of the Old Master and the first of the moderns. He was also one of the great contemporary portraitists."
Wikipedia
Goya did a series of 82 prints, titled The Disasters of War. He used intaglio printmaking techniques, such as etching to create horrible and bloody scenes to reveal out the cruelty of the war.
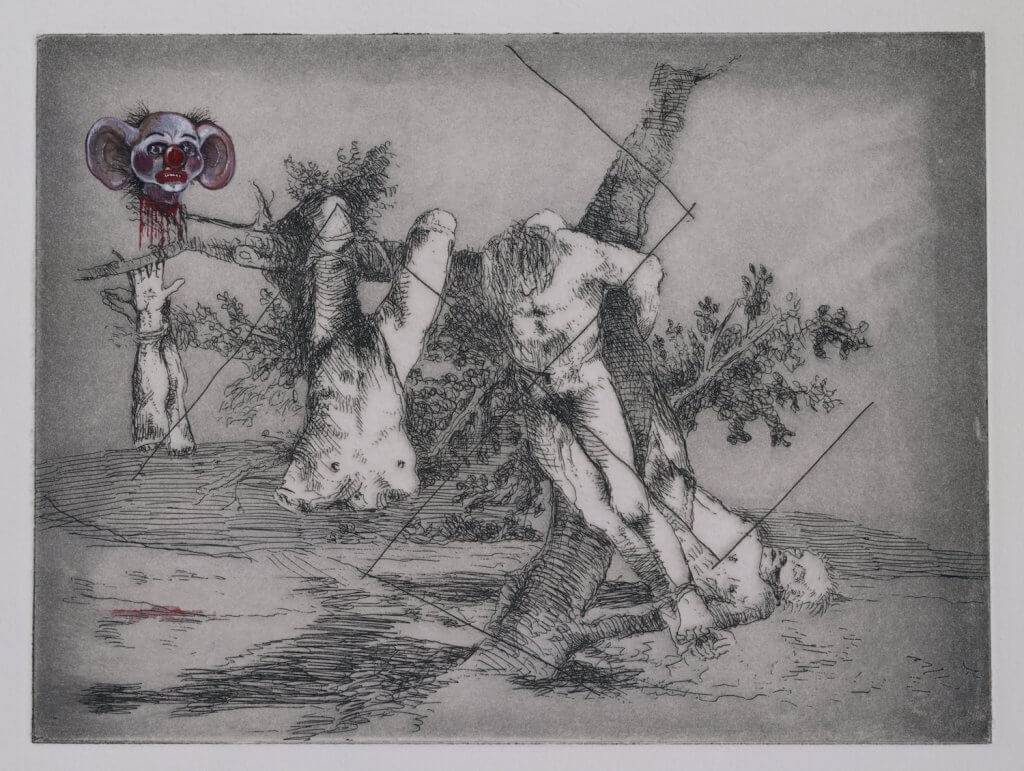
Jake and Dinos Chapman

"Iakovos "Jake" (born 1966) and Konstantinos "Dinos" (born 1962) are British visual artists, often known as the Chapman Brothers."
Wikipedia
In 1993, they created a series of mini sculpture based on Goya's The Disasters of War. In the later years, they continued to create artworks that relating to the same topic. For instrance, Great Deeds Against the Dead (1994) and Exquisite Corpse (2000). In their etchings contain ironic attitude as similar as Dadaism.
Solar Etching

Firstly, photocopy a black-and-white version of the collage and print it in A6 size and put it onto an acetate paper to transfer the figure.
Secondly, transfer the picture to the solar plate, using the UV light box and wait for 3 minutes. It is important to reverse the picture and then put on the plate.
(Do not touch the plate after reveal the plastic cover)
After exposing in the UV light, the solar plate has already showed the picture slightly. Then we put the plate into tepid water for several minutes, using the soft brush to accelerate the process of appearing a clear picture. When the picture becomes really detailed, quickly wash it under cold water and dry it. Put the plate aside and let it "harden" for a while.
Fourthly, select the printing ink and ink up the solar plate. In this process, it is better to wear a pair of gloves to prevent messing up the paper. Put a little bit of ink on a plate and use a hard card to apply the ink for the first time. In the second time, use another clean card to scrape away redundant ink. Lastly, use a scrim or tissue paper to move more ink to achieve the planning effect.

Then, put a piece of dampened paper on the plate and press them through a roller effectively. To create more effects, you can use "localised inking" which means applying different colours on different areas of the plate, or by using the coloured paper that glued at the side that does not touch with the solar plate.
I did twice and at the second time, I put a piece of tracing paper in the middle of the picture to create another layer.
Dry Point
To print the picture by engraving (intaglio) needs a plastic, translucent plate to trace the image from a collage by engraving needles. Using a dark background to check the condition is really helpful.

Referring to the inking-up process, the technique is identical to the solar plate.

I tried to use the localised inking skill for this. The white ink was applied on the area of the man's portrait and letter "N". Meanwhile, I experimented to use a thick black paper card and pink cloth on the second version as well.
Evaluation
I was really enjoyed in this practice, though it was power-exhausted. There are some points that I think should be improved in the next time. Firstly, wearing gloves is really important, otherwise the inky fingers will leave the finger prints on the plate. Secondly, the ink would stick at the back of the plate while scraping them from it, so the paper beneath needs to be changed often.
Health and Safety
In general, the process is pretty safe. However, it is necessary to follow the correct skill or instruction when you are using needle engraving pen and UV light box.











Comments